Control Labels
I've never been satisfied with my attempts at putting labels on the controls of my home-built equipment, usually with dry-transfer lettering. With the advent of Xerox machines and computers the situation improved somewhat, but I've stumbled upon a solution that I now LOVE!
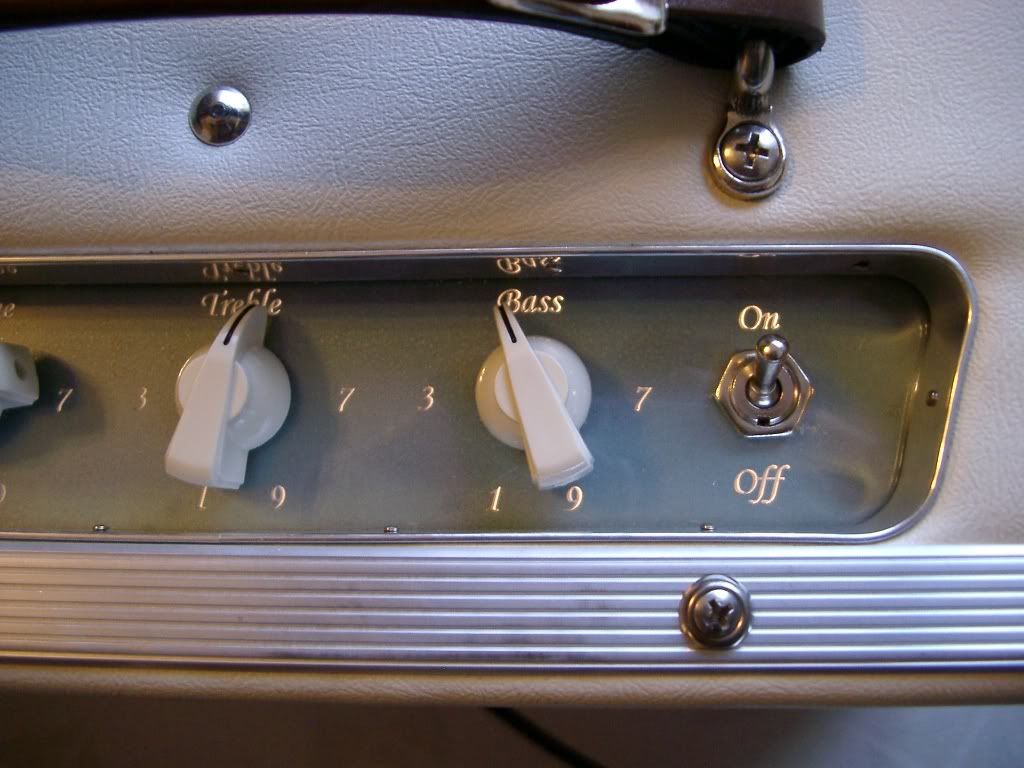
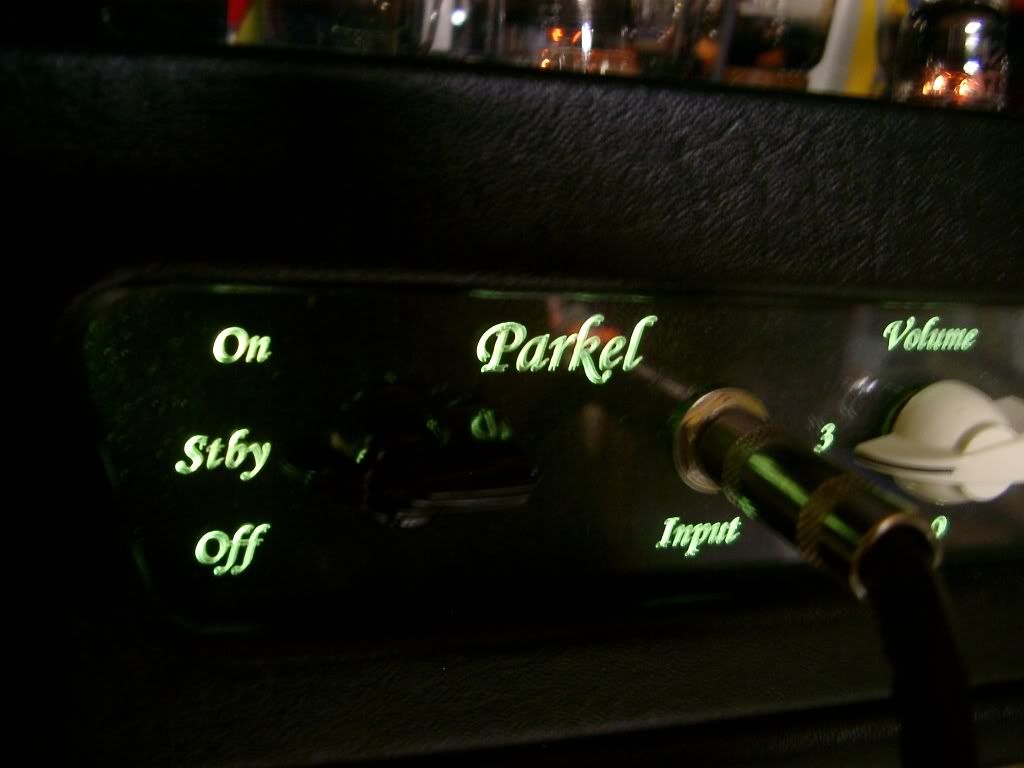
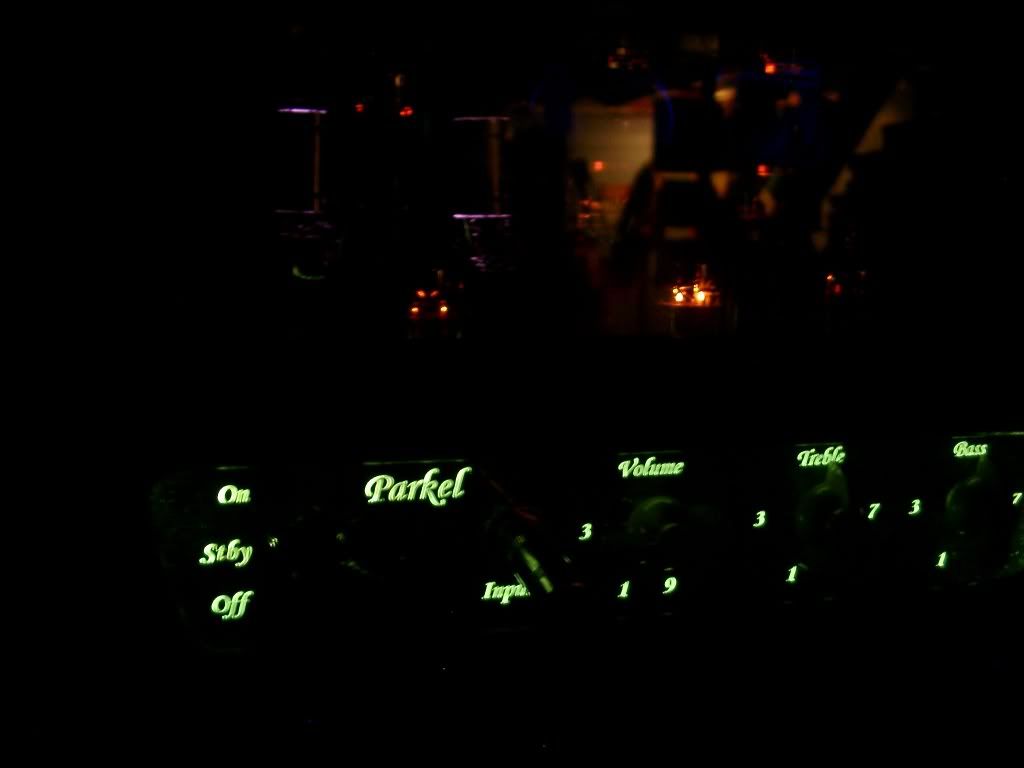
While having some engraving done at the local trophy shop, I noticed that they offered acrylic plaques that were laser-engraved... hmmm... I wonder? When I asked if they could engrave the reverse side of a piece of plastic, they said, "Sure, no problem!"
So now I lay out my desired control labels on my computer and provide the digital file to the trophy shop where they upload it to their machine and reverse-engrave an appropriately-sized piece of 1/16" or 1/8" thick clear plexiglas. All I have to do is drill (CAREFULLY) the holes for the switches, pots, etc., and provide a hidden pilot lamp or two to shine on the edge. The light is transmitted through the plastic, brilliantly lighting up all the control lettering like a neon sign. Since the lettering is on the reverse side, no dust or dirt accumulates in the engraving. I've even tried colored pilot bulbs, which lights up the lettering in the bulb's color.
This method adds a few dollars to the cost of a project, but the professional-looking results make it well worth it for me.