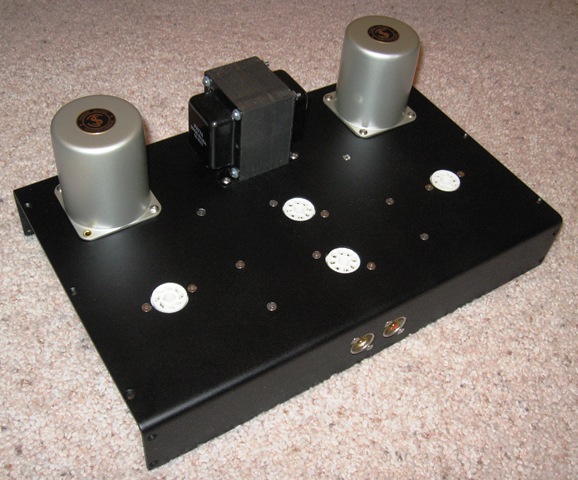
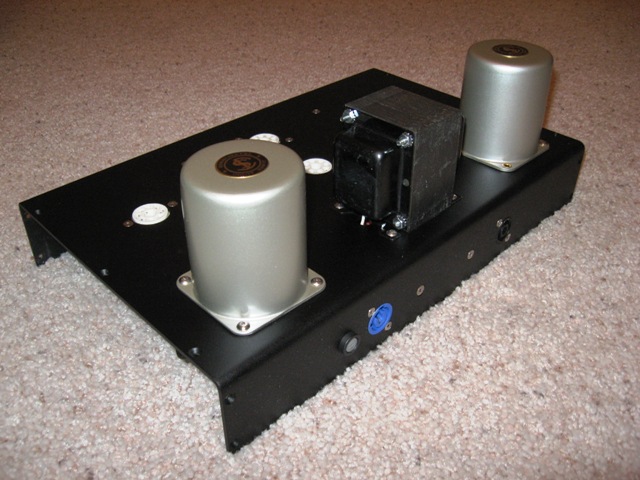
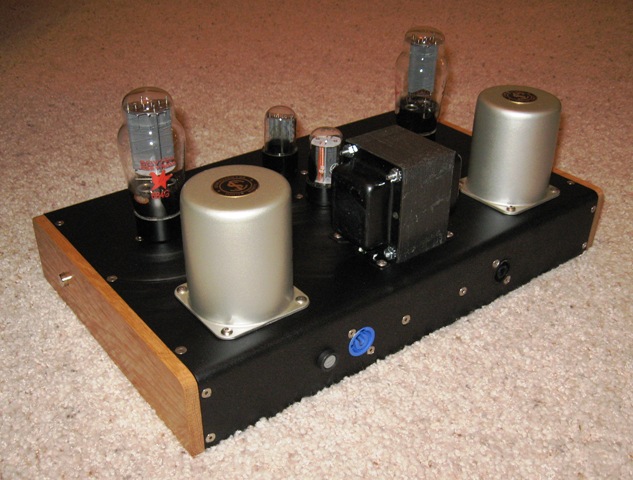
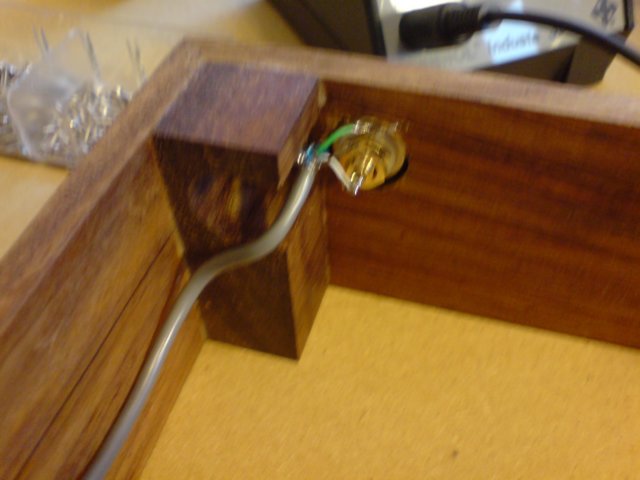
Who's your supplier for the Neutrik RCA connectors? Pretty slick looking.
separks wrote:Who's your supplier for the Neutrik RCA connectors? Pretty slick looking.
I used Full Compass Systems (www.fullcompass.com) for the RCA's. I've used them on a couple homebrew amps and I used hundreds of them at work. They use the same mounting cup for RCAs, BNCs, TNCs, etc, etc, etc. Unlike the Canare RCAs you can get non-50/75 Ohm jacks and the Neutrik stuff uses a common size for a lot of their connectors.
There are also 7 or 8 color choices for the insulators.
drew*