And i have to say thank you to Shannon for creating such a fantastic board.
The amplifier is dead silent no hums of any kind and sounds absolutely fantastic, I have just picked up some rev c boards from the mail today and im hoping these are sonically as good.
It has been quiet an expensive undertaking as i have purchased all the tooling for making the chassis for this project and hopefully many more to come but I don't think i will be able to rival Mr mcnally not for the moment anyhow.
One thing I have noticed is how much a sad state of affairs diy electronics has become in Australia and how ridiculously expensive it is if you buy locally mouser is about 4X cheaper even with postage.
Anyhow more about the amp.
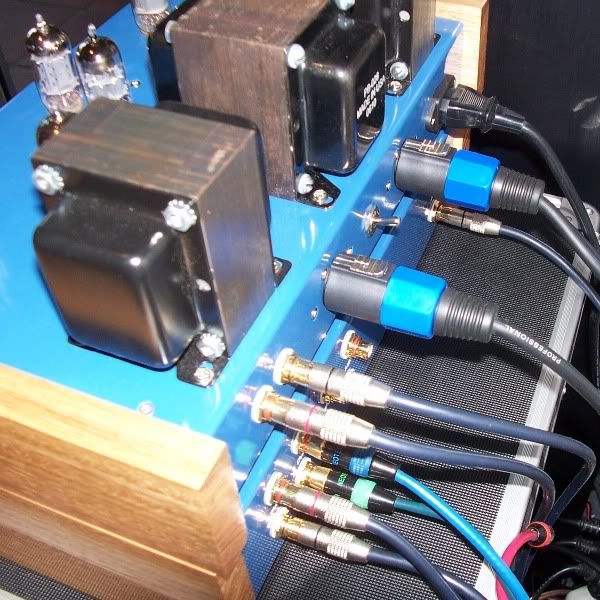
I had decided that I didn't want front mounted input connections so the thought process started, how to design a chassis that I can build easily and for low cost,
So off to Hare and Forbes (industrial machinery shop)
I had a bit of a chat to the guy on the floor and he had said I needed a "Pan brake" and hand shears.
So I got these rather heavy items and some cut to size 2mm aluminium sheet.
while the sheet was flat i punched all the holes and done all the drilling then folded it into a C section.
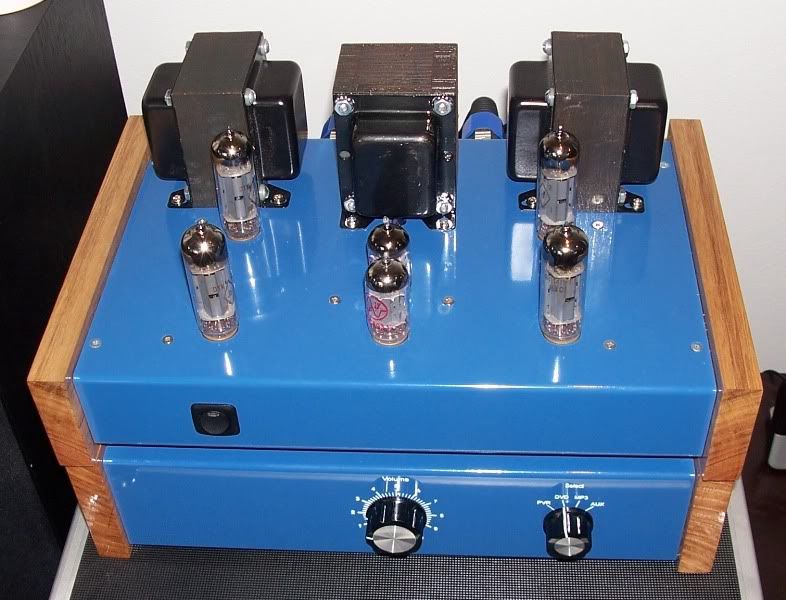
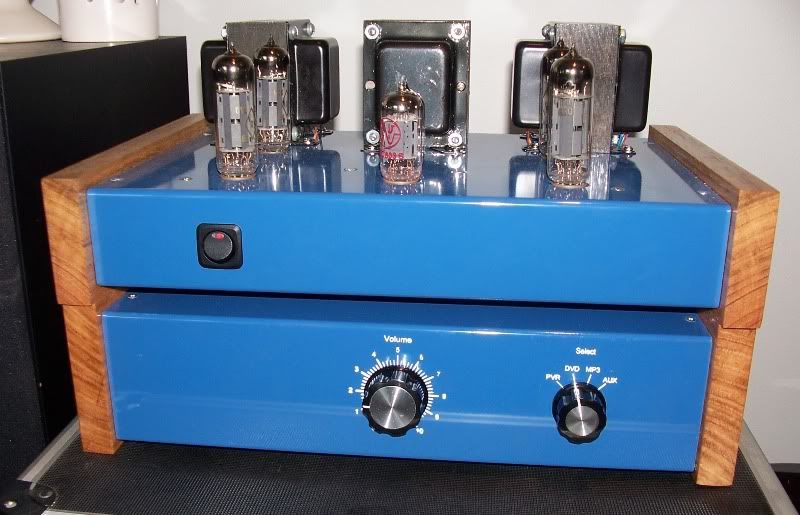
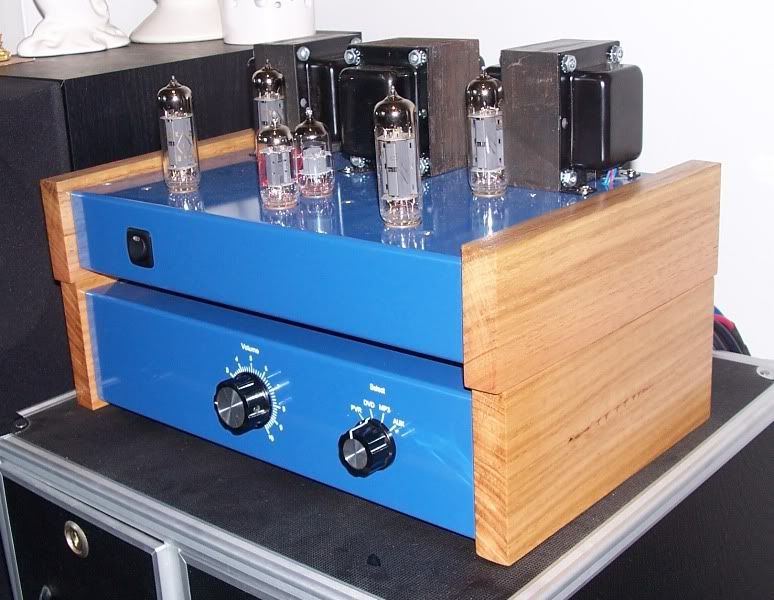
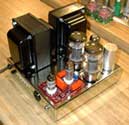
I then got some Tasmanian oak and pine board and ran it thru my table saw to get it to the right size for the ends and the pine to fit inside the C section aluminium chassis, screwed the 2 together from the pine inside side clear coated and varnished and there we go easy chassis ends.
I had decided to go for Belton sockets from tube depot and used a 19mm punch for a neat fit around the tube socket and luckly i found some power switches that also have a 19mm cutout.
as for the rear connections after reading a really interesting article on speaker wire I had decided to use Speakon connectors and a switch for selecting 4 or 8 ohm tappings
This I hope will stop whoever ends up owning this amp from taking out a second mortgage on speaker wire.
After looking about on eBay at these things called "Passive Preamps" that are selling here in Australia for US$250 (an alps pot in an extruded aluminium case with no labelling whatsoever) I thought i can do better that that so I have made a matching unit that is a little taller and it even has a selector switch.
After much expense and heartache and weeks of failure with many many different products I started experimenting with silk screening with good results with screens again ordered thru eBay from the US.
It is much easier than you think but still a bit tricky Im more than happy to discuss how i managed the silk screening but thats for another day.
The amp is running Reflector 6p14P-EV output tubes biased at 40mv on the test points with JJ long plate 12AX7 and JJ 12au7
last Saturday night was the unveiling and I had only been able to run it for about 2 hours previous so i had my fingers crossed
but it performed fantastically for 5 hours at Christmas drinks at full output with the likes of Madonna and other dance and house music.
I hope i haven't rambled on too much and bored you all but i have had many many late nights it has been a real learning curve with all the metal work etch priming painting woodwork silk screening etc
I had some trouble with the photo gallery so here are some shots from photo bucket.
if anyone has any suggestions make sure to let me know.
Gareth